Artvee
  • Browse
    • Abstract
    • Figurative
    • Landscape
    • Illustration
    • Posters
    • Religion
    • Mythology
    • Drawings
    • Still Life
    • Animals
    • Botanical
    • Asian Art
  • Books
  • Artists
  • Explore
    • Topics
    • Culture
    • Movements
  • Highlights
  • Collections
  • Galleries
  • Artvee Pro
Login
Artvee
Menu
Byam Shaw
Byam Shaw

Byam Shaw

English, 1872 - 1919
Follow

John Byam Liston Shaw, commonly known as Byam Shaw, was a British painter, illustrator, designer and teacher.

Byam Shaw was born in Madras; his father, John, was the registrar of the High Court at Madras. The family returned to England in 1878 where they settled in Kensington, living at 103 Holland Row. He showed early artistic promise, and in 1887 his work was shown to John Everett Millais, who recommended that the 15-year-old should enter the St John's Wood Art School. There, he first met fellow artists Gerald Fenwick Metcalfe (also born in India) and Rex Vicat Cole. He also met Evelyn Pyke-Nott, his future wife, there. From 1890, Shaw studied at the Royal Academy Schools where he won the Armitage Prize in 1892 for his work The Judgement of Solomon.

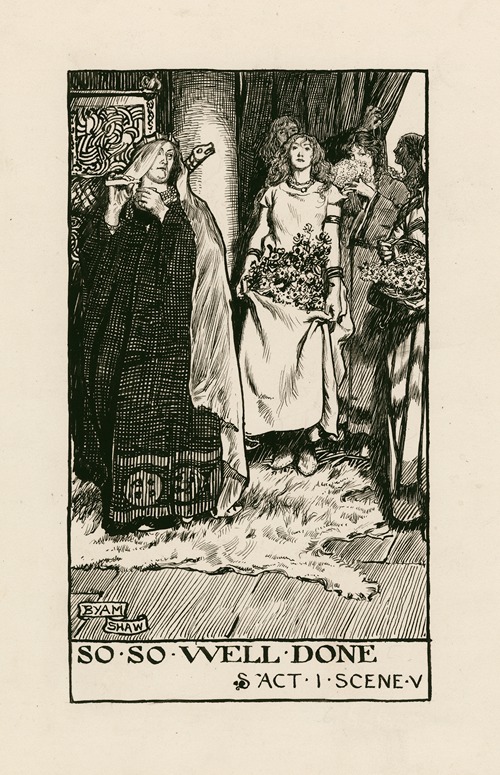
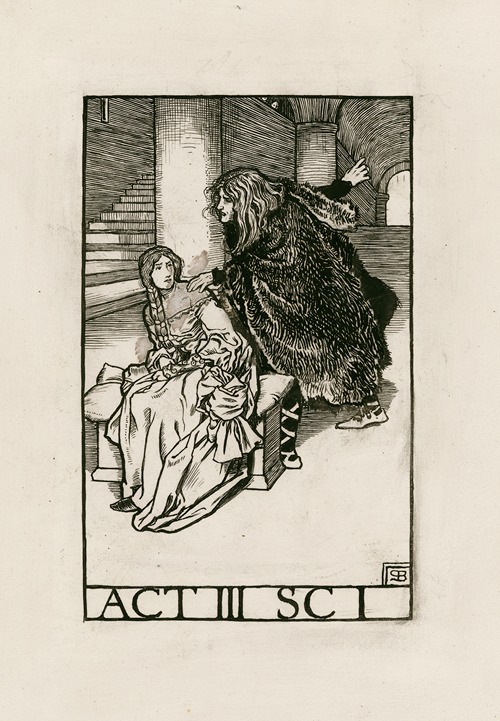
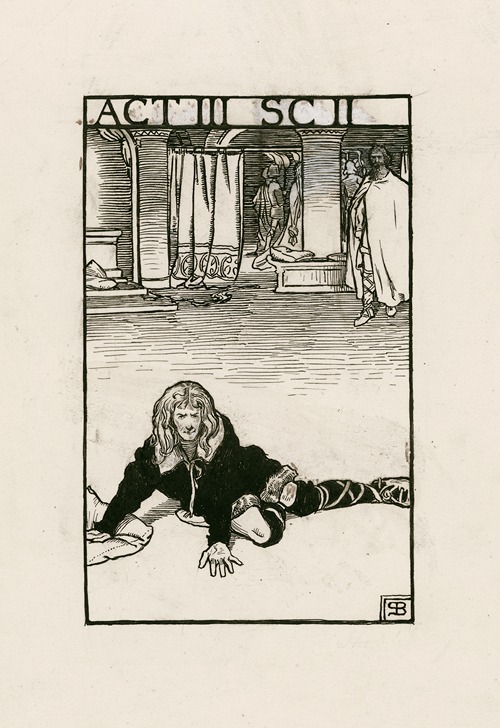
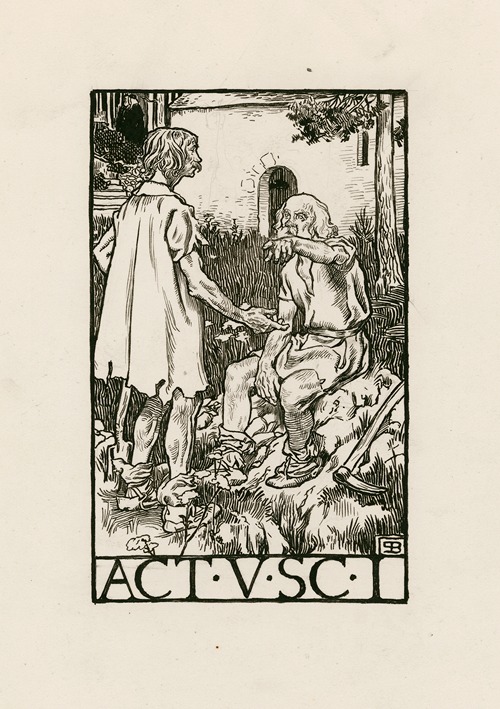
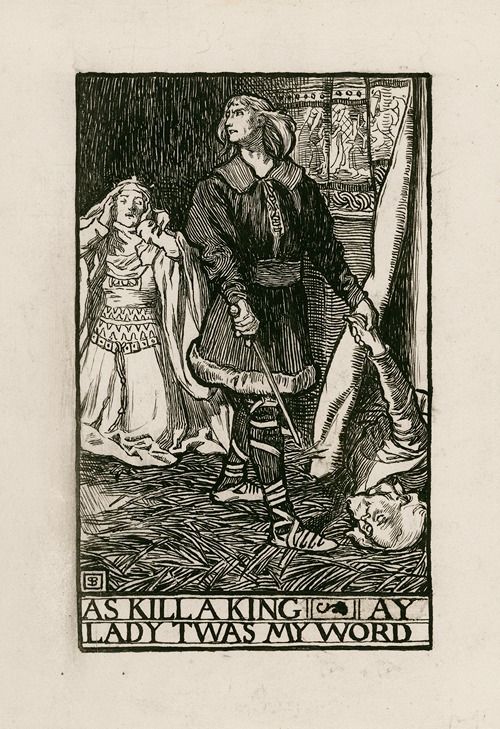
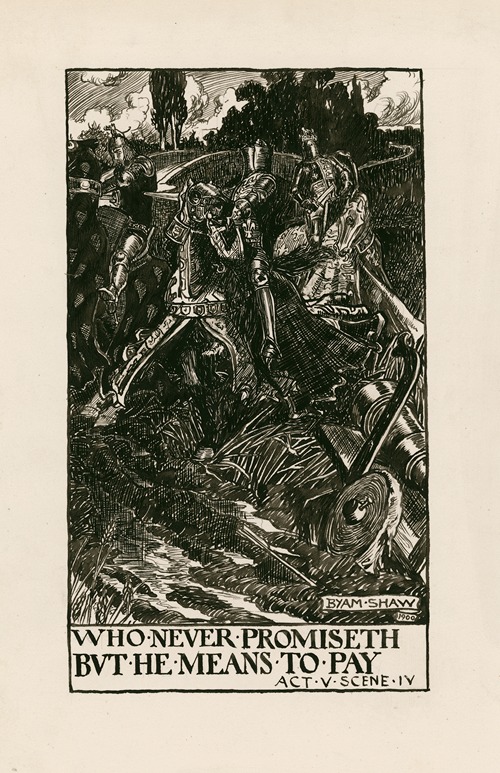
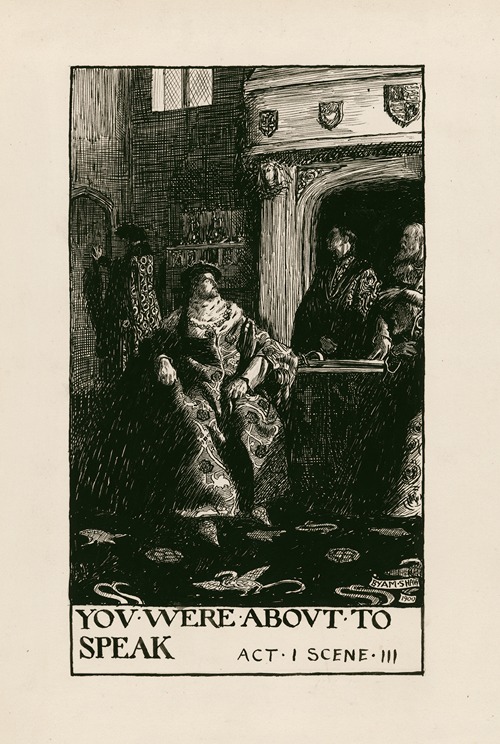
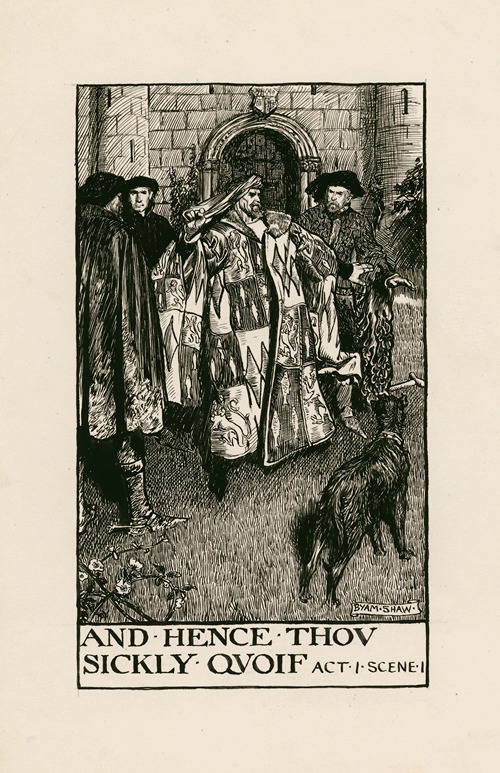
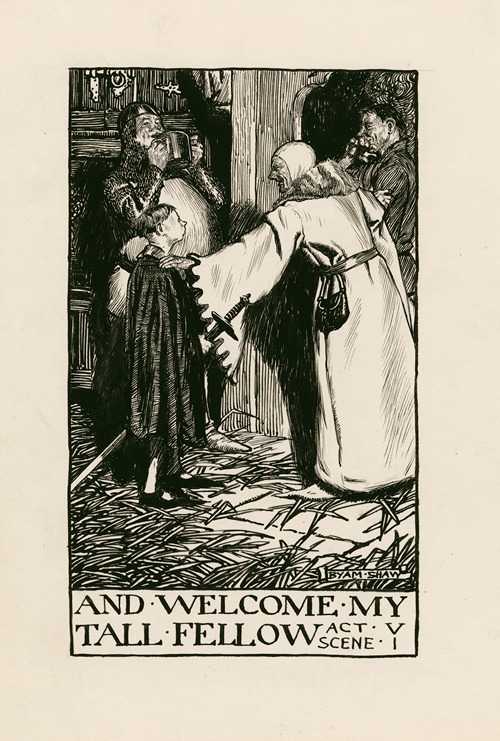
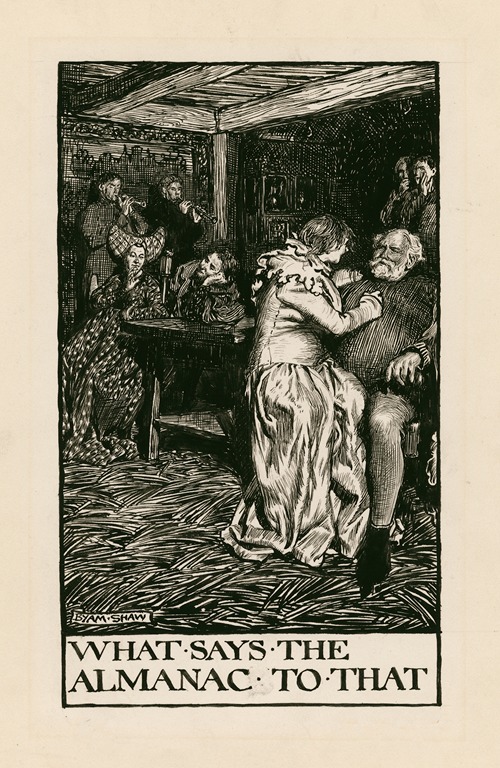
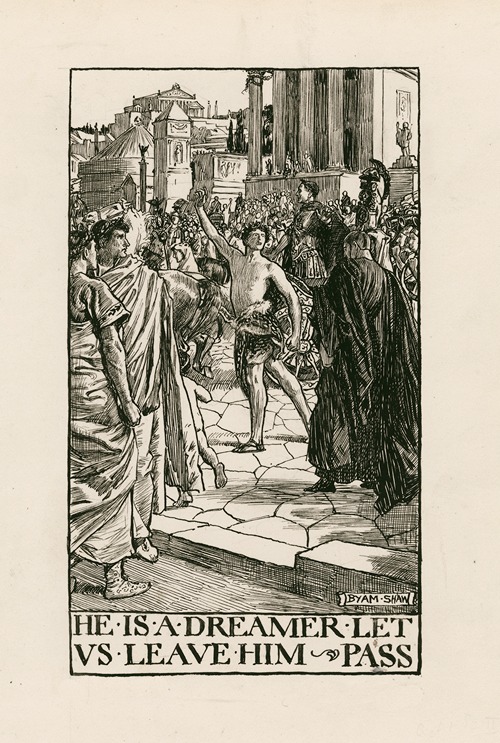
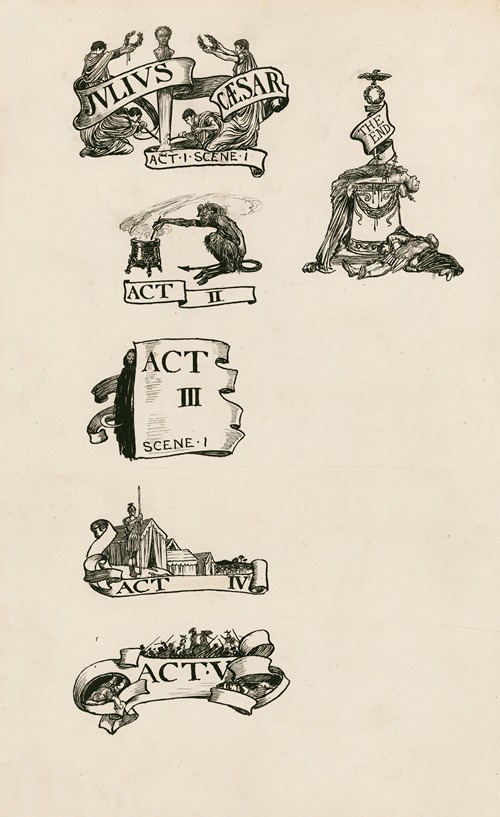
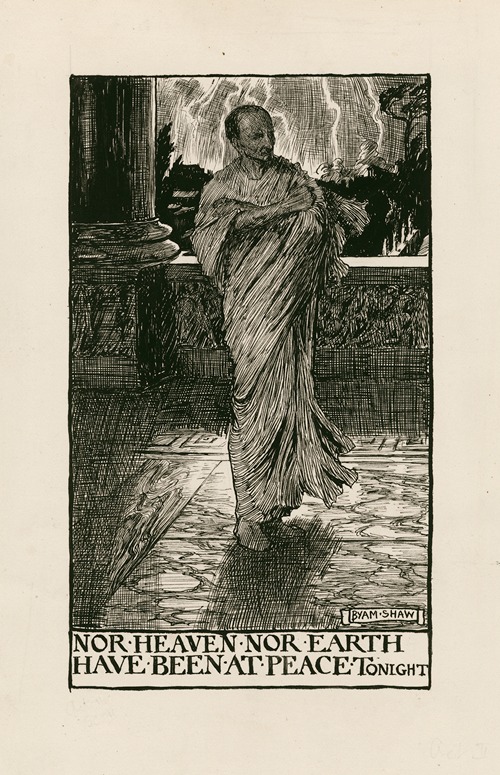
Throughout his career Byam Shaw worked competently in a wide variety of media including oils, watercolour, pastels, pen and ink and deployed techniques such as dyeing and gilding. He was influenced by the Pre-Raphaelites and took many of his subjects from the poems of Rossetti. He exhibited frequently at Dowdeswell and Dowdeswell's gallery in New Bond Street, where he had at least five solo exhibitions between 1896 and 1916.

Later in his life his popularity as an artist waned, and he turned to teaching for his living. He taught at the Women's Department of King's College London from 1904 and in 1910, with Rex Vicat Cole, he founded the Byam Shaw and Vicat Cole School of Art later renamed simply the "Byam Shaw School of Art".

274 items

Show 30 50 70
Cymbeline; So so well done Act I Scene V

Cymbeline; So so well done Act I Scene V (1900)

Byam Shaw (English, 1872 - 1919)
Illustration
Hamlet; Act III Scene I

Hamlet; Act III Scene I (1900)

Byam Shaw (English, 1872 - 1919)
Illustration
Hamlet; Act III Scene II

Hamlet; Act III Scene II (1900)

Byam Shaw (English, 1872 - 1919)
Illustration
Hamlet; Act V Scene I

Hamlet; Act V Scene I (1900)

Byam Shaw (English, 1872 - 1919)
Illustration
Hamlet; Act V Scene II

Hamlet; Act V Scene II (1900)

Byam Shaw (English, 1872 - 1919)
Illustration
Hamlet; As kill a king, ay lady twas my word Act III Scene IV

Hamlet; As kill a king, ay lady twas my word Act III Scene IV (1900)

Byam Shaw (English, 1872 - 1919)
Illustration
Hamlet; Headings

Hamlet; Headings (1900)

Byam Shaw (English, 1872 - 1919)
Illustration
Hamlet; Still am i called unhand me Act I Scene IV

Hamlet; Still am i called unhand me Act I Scene IV (1900)

Byam Shaw (English, 1872 - 1919)
Illustration
Henry IV, part 1; Betwixt the wind and his nobility Act I Scene III

Henry IV, part 1; Betwixt the wind and his nobility Act I Scene III (1900)

Byam Shaw (English, 1872 - 1919)
Illustration
Henry IV, part 1; Headings

Henry IV, part 1; Headings (1900)

Byam Shaw (English, 1872 - 1919)
Illustration
Henry IV, part 1; I saw him dead Act V Scene IV

Henry IV, part 1; I saw him dead Act V Scene IV (1900)

Byam Shaw (English, 1872 - 1919)
Illustration
Henry IV, part 1; See how this river comes me cranking in Act III Scene I

Henry IV, part 1; See how this river comes me cranking in Act III Scene I (1900)

Byam Shaw (English, 1872 - 1919)
Illustration
Henry IV, part 1; What ostler a plague on thee Act II Scene I

Henry IV, part 1; What ostler a plague on thee Act II Scene I (1900)

Byam Shaw (English, 1872 - 1919)
Illustration
Henry IV, part 1; Who never promiseth but he means to pay Act V Scene IV

Henry IV, part 1; Who never promiseth but he means to pay Act V Scene IV (1900)

Byam Shaw (English, 1872 - 1919)
Illustration
Henry IV, part 1; You were about to speak Act I Scene III

Henry IV, part 1; You were about to speak Act I Scene III (1900)

Byam Shaw (English, 1872 - 1919)
Illustration
Henry IV, part 2; And hence thou sickly quoif Act I Scene I

Henry IV, part 2; And hence thou sickly quoif Act I Scene I (1900)

Byam Shaw (English, 1872 - 1919)
Illustration
Henry IV, part 2; And welcome my tall fellow Act V Scene I

Henry IV, part 2; And welcome my tall fellow Act V Scene I (1900)

Byam Shaw (English, 1872 - 1919)
Illustration
Henry IV, part 2; Give him air Act IV Scene IV

Henry IV, part 2; Give him air Act IV Scene IV (1900)

Byam Shaw (English, 1872 - 1919)
Illustration
Henry IV, part 2; Headings

Henry IV, part 2; Headings (1900)

Byam Shaw (English, 1872 - 1919)
Illustration
Henry IV, part 2; I know thee not old man Act V Scene V

Henry IV, part 2; I know thee not old man Act V Scene V (1900)

Byam Shaw (English, 1872 - 1919)
Illustration
Henry IV, part 2; Many good morrows to your majesty Act III Scene I

Henry IV, part 2; Many good morrows to your majesty Act III Scene I (1900)

Byam Shaw (English, 1872 - 1919)
Illustration
Henry IV, part 2; What says the almanac to that Act II Scene IV

Henry IV, part 2; What says the almanac to that Act II Scene IV (1900)

Byam Shaw (English, 1872 - 1919)
Illustration
Julius Caesar; He is a dreamer, let us leave him pass Act I Scene II

Julius Caesar; He is a dreamer, let us leave him pass Act I Scene II (1900)

Byam Shaw (English, 1872 - 1919)
Illustration
Julius Caesar; Headings

Julius Caesar; Headings (1900)

Byam Shaw (English, 1872 - 1919)
Illustration
Julius Caesar; Nor heaven nor Earth have been at peace tonight

Julius Caesar; Nor heaven nor Earth have been at peace tonight (1900)

Byam Shaw (English, 1872 - 1919)
Illustration
Julius Caesar; Over thy wounds now do i prophecy Act IV Scene II

Julius Caesar; Over thy wounds now do i prophecy Act IV Scene II (1900)

Byam Shaw (English, 1872 - 1919)
Illustration
Julius Caesar; Speak no more of her Act IV Scene III

Julius Caesar; Speak no more of her Act IV Scene III (1900)

Byam Shaw (English, 1872 - 1919)
Illustration
Julius Caesar; They Whisper Act II Scene I

Julius Caesar; They Whisper Act II Scene I (1900)

Byam Shaw (English, 1872 - 1919)
Illustration
Julius Caesar; What man is that Act V Scene V

Julius Caesar; What man is that Act V Scene V (1900)

Byam Shaw (English, 1872 - 1919)
Illustration
King Henry V; Amen Act V Scene II

King Henry V; Amen Act V Scene II (1900)

Byam Shaw (English, 1872 - 1919)
Illustration
  • ←
  • 1
  • 2
  • 3
  • 4
  • 5
  • 6
  • …
  • 8
  • 9
  • 10
  • →

0 Artworks
Follow
Facebook Twitter Pinterest
Favourite
Collect

Standard, JPG, Size:

Download

Max Size, JPG, Size:

Download
License: All public domain files can be freely used for personal and commercial projects. .
Why is this image in the public domain?
  • Terms
  • Privacy
  • Contact us
Artvee.com 2024 All Rights Reserved
We use cookies to improve your experience on our website. By browsing this website, you agree to our use of cookies.
More info Accept
  • Sign in
  • Browse
    • Abstract
    • Figurative
    • Landscape
    • Illustration
    • Posters
    • Religion
    • Mythology
    • Drawings
    • Still Life
    • Animals
    • Botanical
    • Asian Art
  • Artists
  • Books
  • Explore
    • Topics
    • Culture
    • Movements
  • Highlights
  • Collections
  • Galleries
  • Artvee Pro